Table of Contents
General Information
Instructors are added to the system under the Instructors tab. This area is also where lists of instructors can be viewed and instructor information can be edited.
Prefer to learn using videos? Check out this Recording of the Instructors Training.
Add Instructor
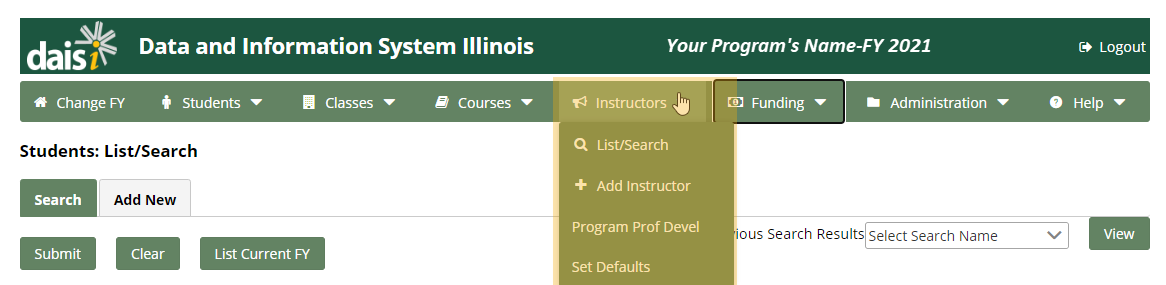
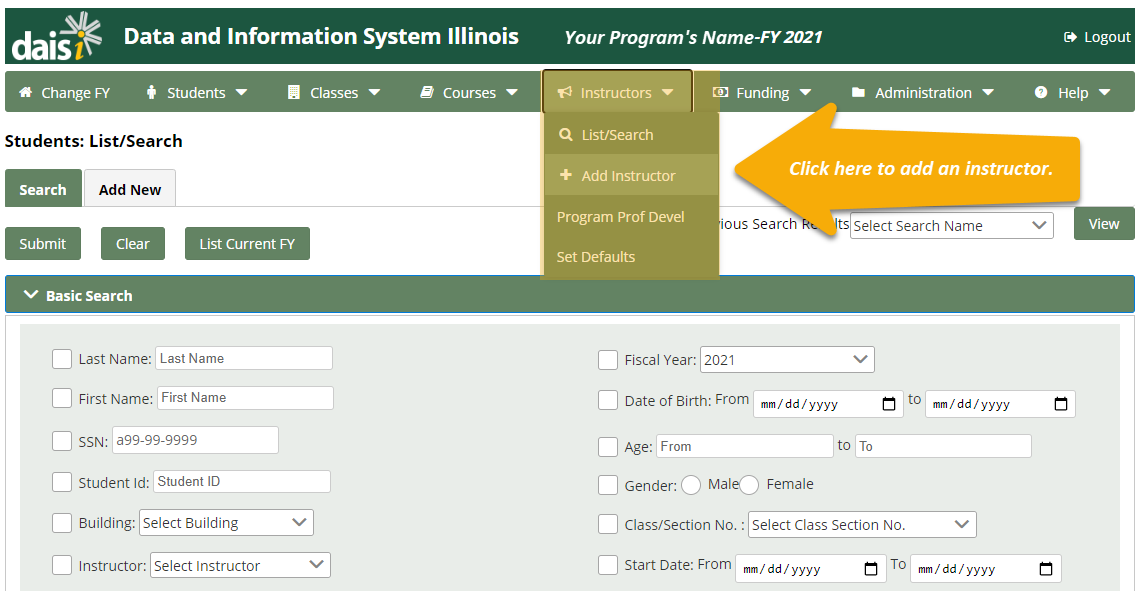
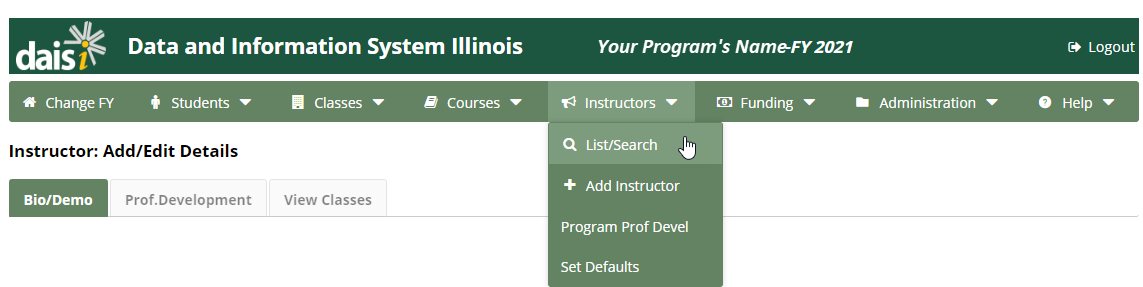
To add an instructor, go to the Instructors tab at the top of the screen, and select the Add Instructor menu option.
The Instructor Information screen is divided into six sections:
- Biographic/Demographic
- Contact Information
- Education/Employment
- Status
- Custom Fields
- Site Access
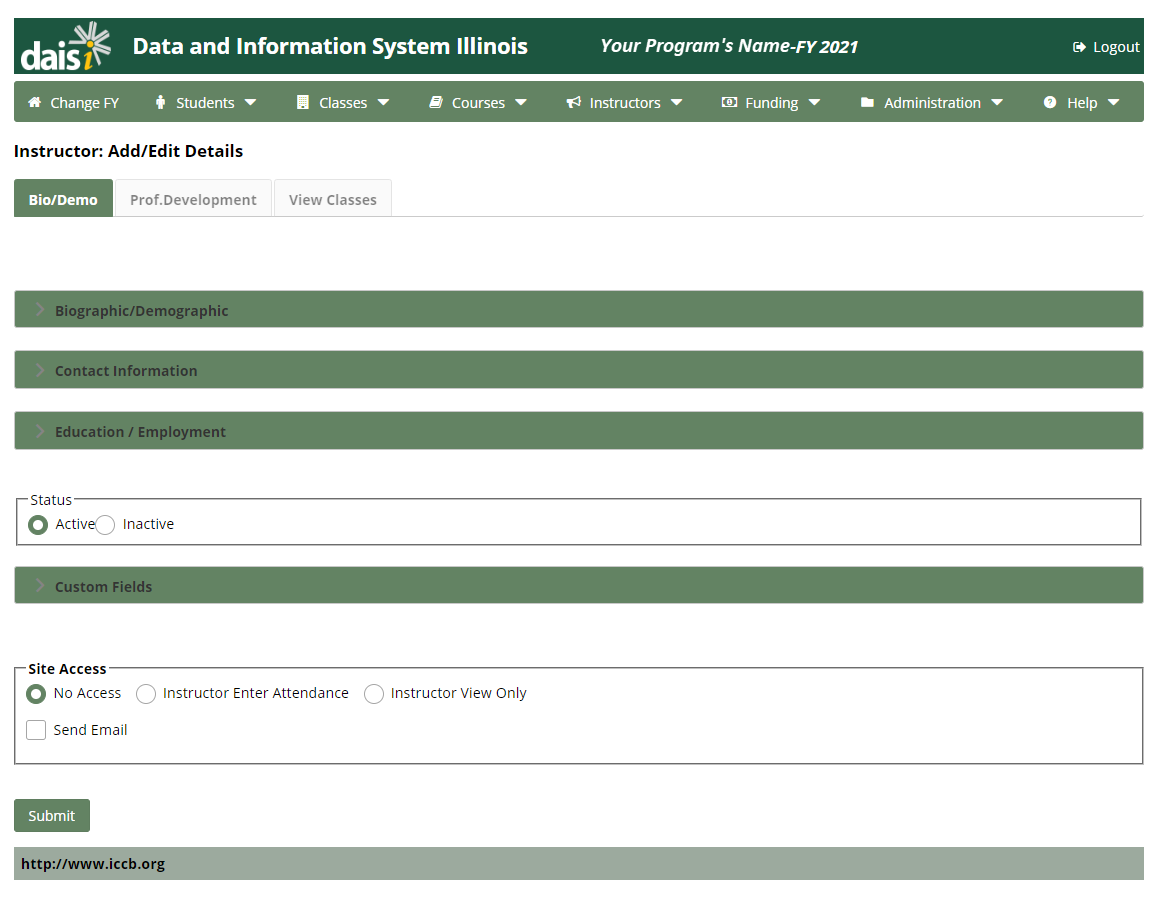
Enter as much information as is available about the instructor. The fields marked with a red asterisk (*) are required. When all information for the instructor is complete, click Submit at the bottom left corner of the page.
Note: If any information entered for an instructor is invalid or incomplete, a red error message will appear at the bottom of the screen, and red error messages will appear next to the incomplete/invalid fields.
All errors must be resolved before the instructor’s information can be saved.

Biographic/Demographic
Enter the biographic/demographic information about the instructor. The system will automatically check for duplicates and prompt the user if any are identified.
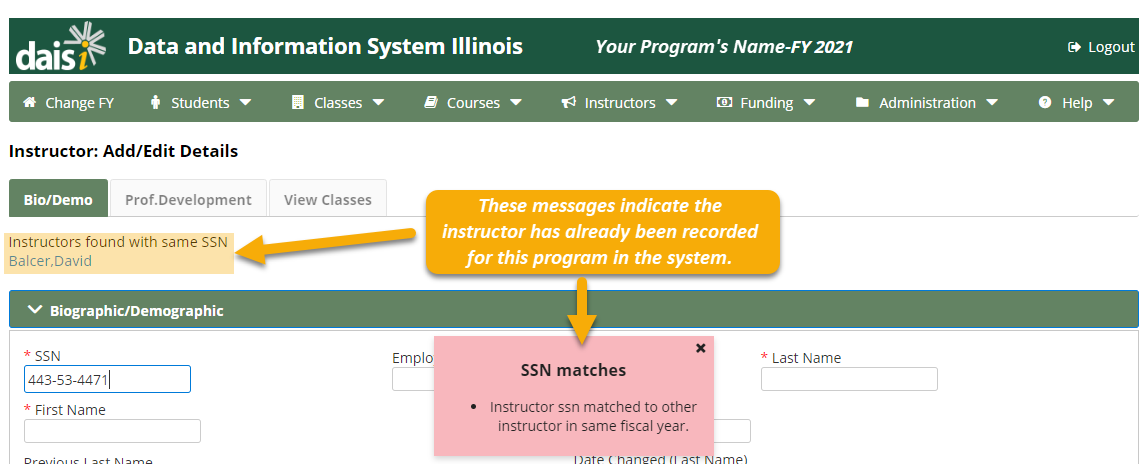
Note: If an instructor is working for multiple programs, they must have a separate record for each program.
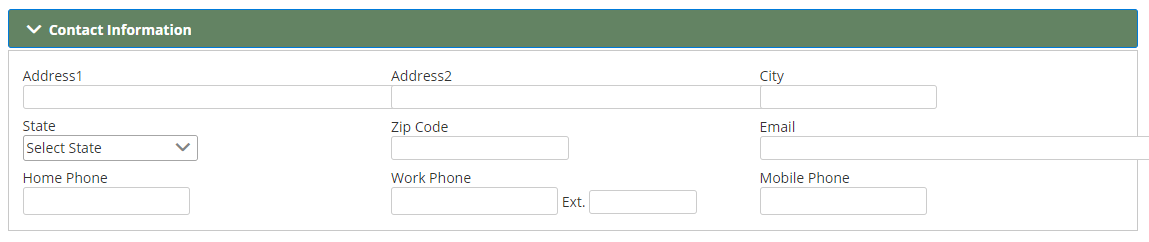
Contact Information
Enter the address and other contact information for the instructor as available.
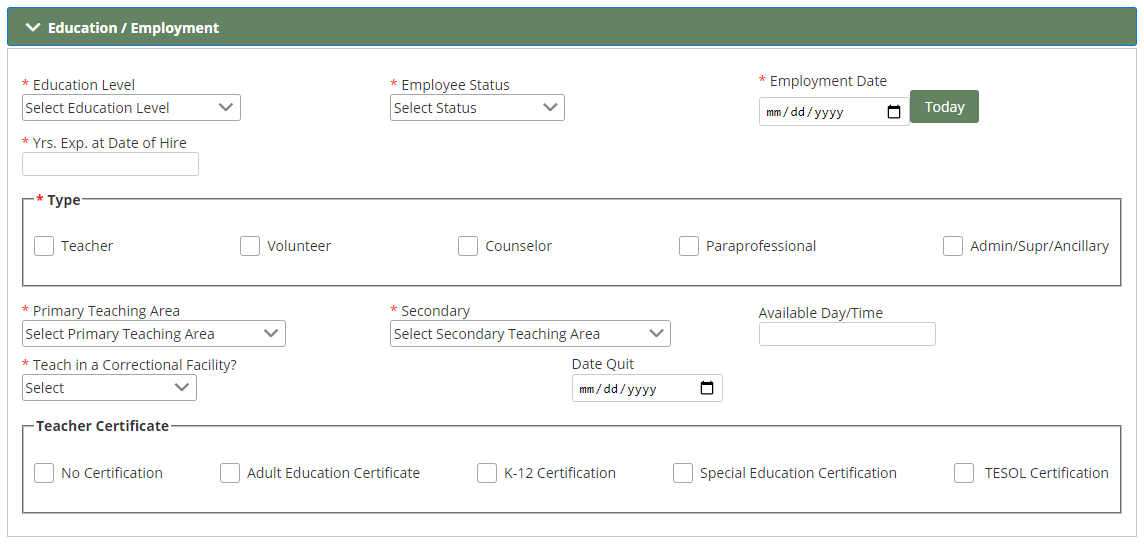
Education/Employment
Enter the appropriate information. Be sure to complete all the required fields.
Status
The status section indicates whether or not the instructor is currently active within the program. Select the appropriate field by clicking the circle.

Note: If an instructor is no longer active in your system, it is recommended that you change their status to “Inactive” rather than delete them. This will ensure that all of their records will remain intact.
Site Access
The Site Access section determines which privileges will be granted to the instructor within the Daisi system. Select the appropriate field from the following options:
- No Access: Instructors cannot access their Daisi account
- Instructor Enter Attendance: Instructor can view student data for their classes and enter student attendance information; if this option is selected, a unique email address will be required before the instructor’s information can be saved. Daisi login information is communicated via email directly to the instructor.
- Instructor View Only: Instructor’s account has view-only access to their class data, including roster and attendance views; if this option is selected, a unique email address will be required before the instructor’s information can be saved.
If Instructor Enter Attendance or Instructor View Only are selected, check Send Email to send the instructor their login information.

When you are finished entering the instructor’s information, click Submit to save the instructor’s record.
To view an instructional video that shows how to pre-set values in order to enter new instructors more quickly, click this link: https://youtu.be/i_PKTTj5vLg
List/Search
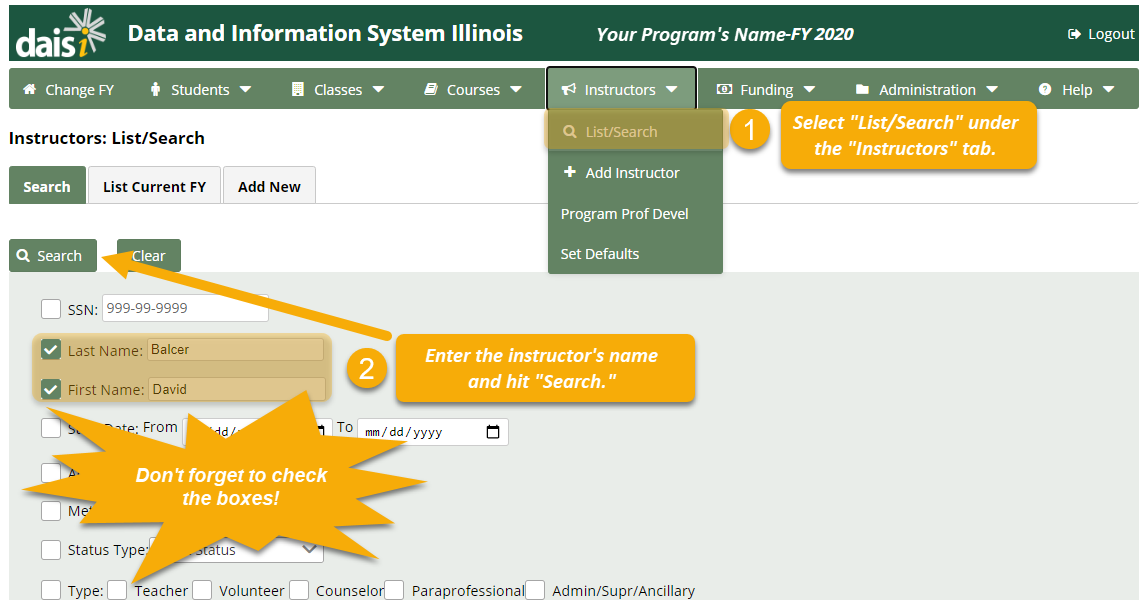
You can edit and review instructor records by clicking the Instructors tab and selecting List/Search.
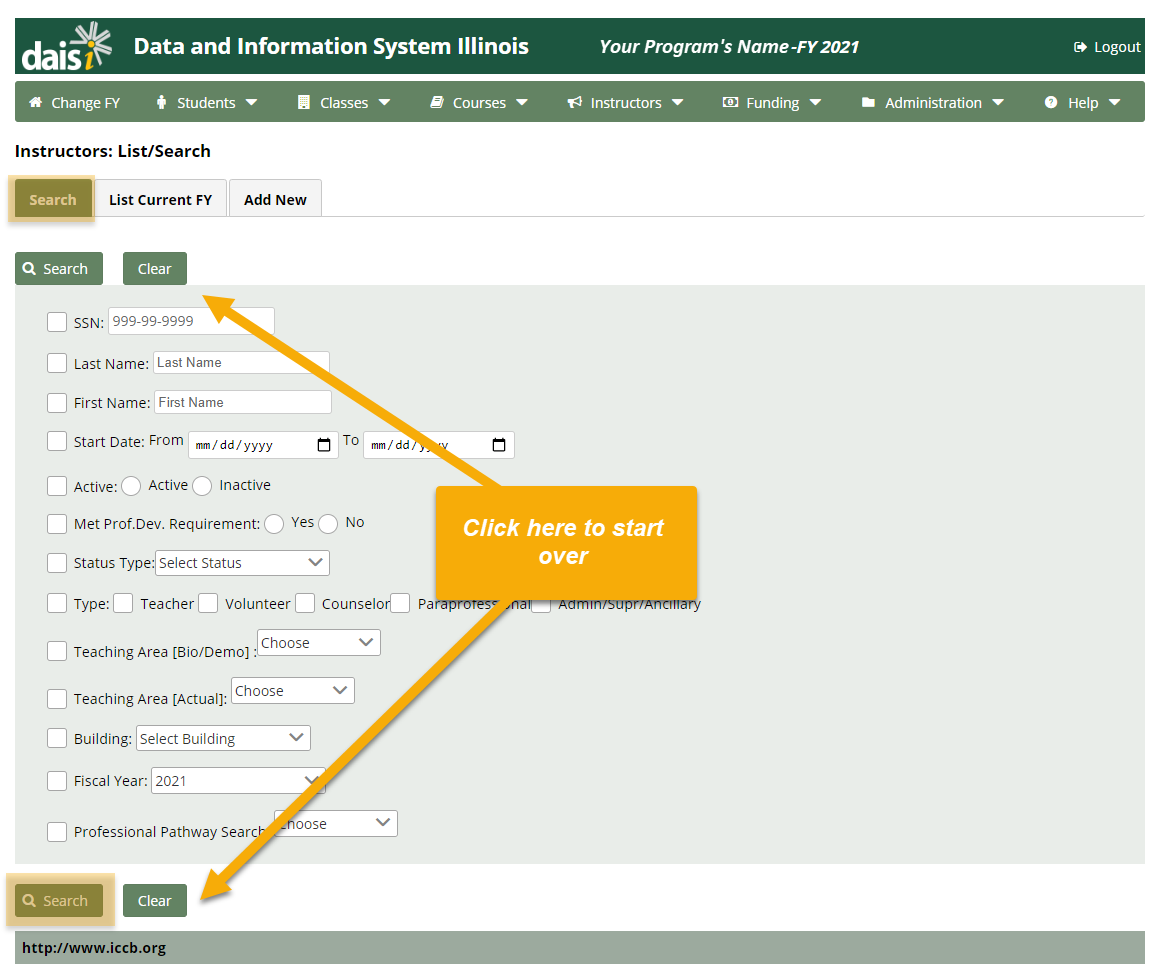
To find the instructor, fill in at least one of the fields, and click the Search button at either the top or the bottom of the page. Click the Clear button at either the top or bottom of the page to delete all fields and start over.
Note: Be sure to check the box next to the field you want to use as criteria!
You can also select the List Current FY to list all instructors during the current fiscal year. The instructors will be listed in alphabetical order by last name.
Enter all or part of an instructor’s name in the Global Filter search bar near the top of the screen, then hit Enter on your keyboard to search for them. All results containing your entry will appear.
Click the Excel button to download a spreadsheet with all instructors from the current fiscal year.
At the bottom of the page, there is a drop-down menu you can use to change the number of instructors that appear on the page.
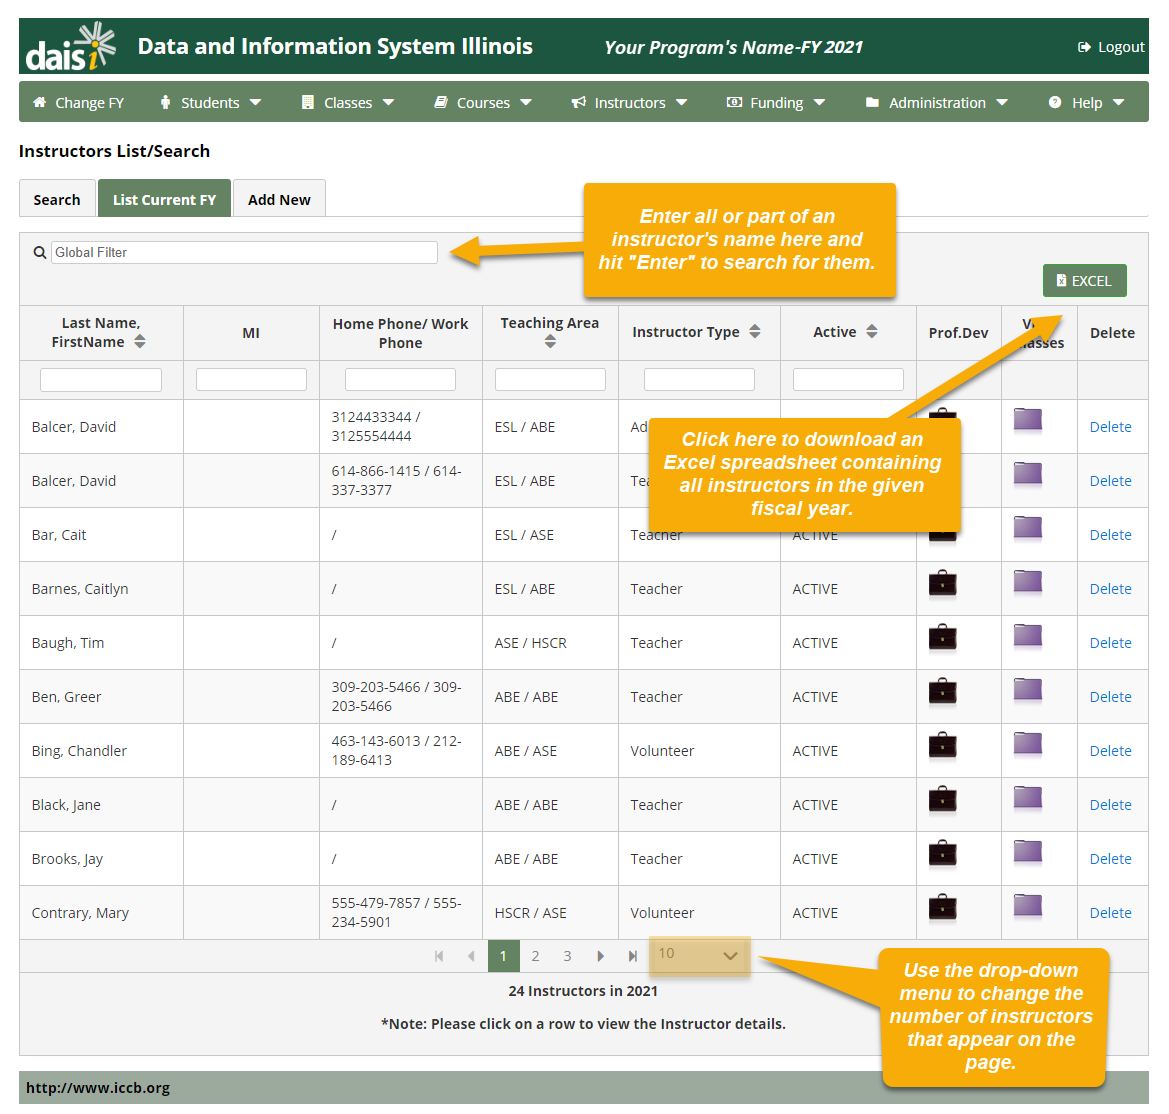
Note: You can use the “Delete” link to delete an instructor, but this is not recommended. Instead, change their status to “Inactive.” The instructor will no longer have access to their account, but their records will remain intact.
Edit Instructors
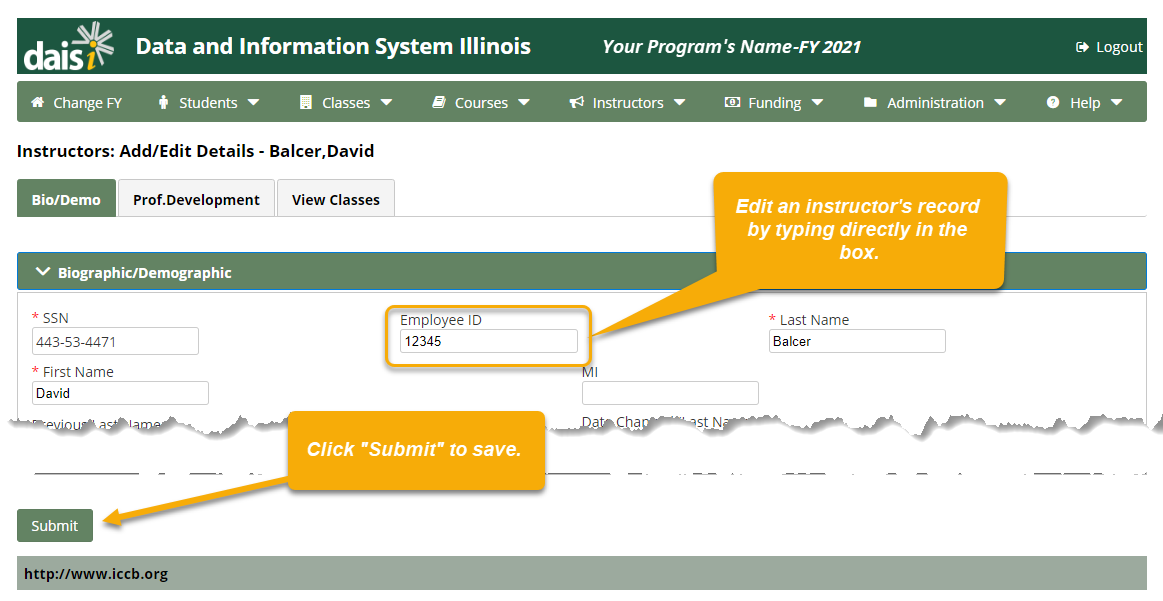
To edit an instructor’s record, first you must locate the instructor using the List/Search feature. To find out how to do this, see the instructions in the List/Search section of this page.
Once you’ve located the instructor you want to edit, add or change their information by typing in the field. When you’re finished, click Submit at the bottom left corner of the screen.
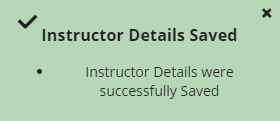
After you click Submit, a message will appear at the bottom of the screen to confirm that the instructor’s record has been saved.
Professional Development
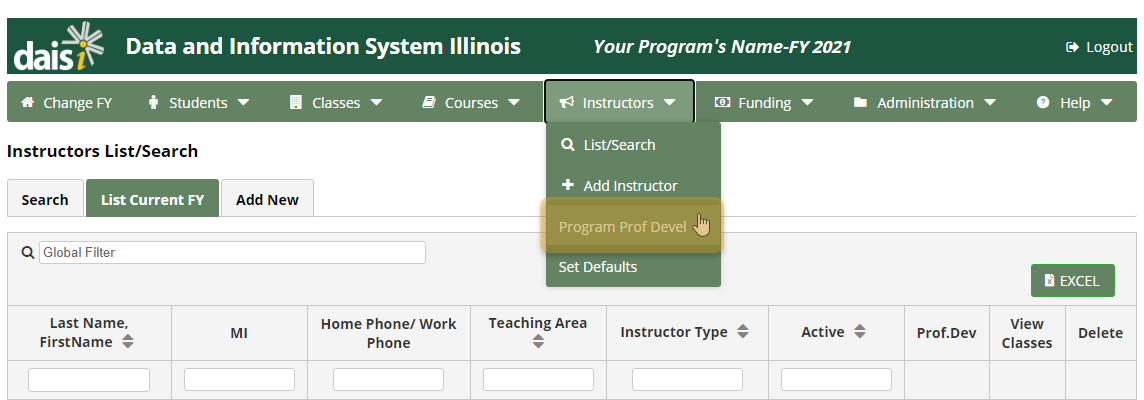
DAISI allows you to keep track of instructors’ professional development hours to help programs track and meet the 12-hour-per-year requirement. To add a record of a professional development experience, go to the Instructors tab and select the Program Prof Devel menu option.
You will be brought to the Program Professional Development Page.
To enter a new Professional Development activity, enter the following information:
- Instructor name: Select from the drop-down menu or begin typing in the blank box. You may select multiple instructors from the box.
- Activity Date: Click the field to type or select using the calendar icon.
- Activity Type: Select from the drop-down menu.
- Hours Attended: Enter numerals only
- Activity Cost: Enter numerals only
- Notes: Type any additional notes about the professional development activity
- Description: Type a brief description the professional development activity
Note: Fields marked with a red asterisk (*) are mandatory.
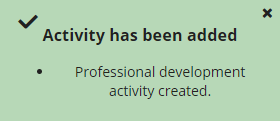
When you finish entering the information, hit Submit. You will then see a message confirming that your entry has been saved:
To view the professional development history of an instructor during the current fiscal year, go to the Instructor: List/View page and select the instructor you want to view. Once on their page, click the Prof.Development tab.

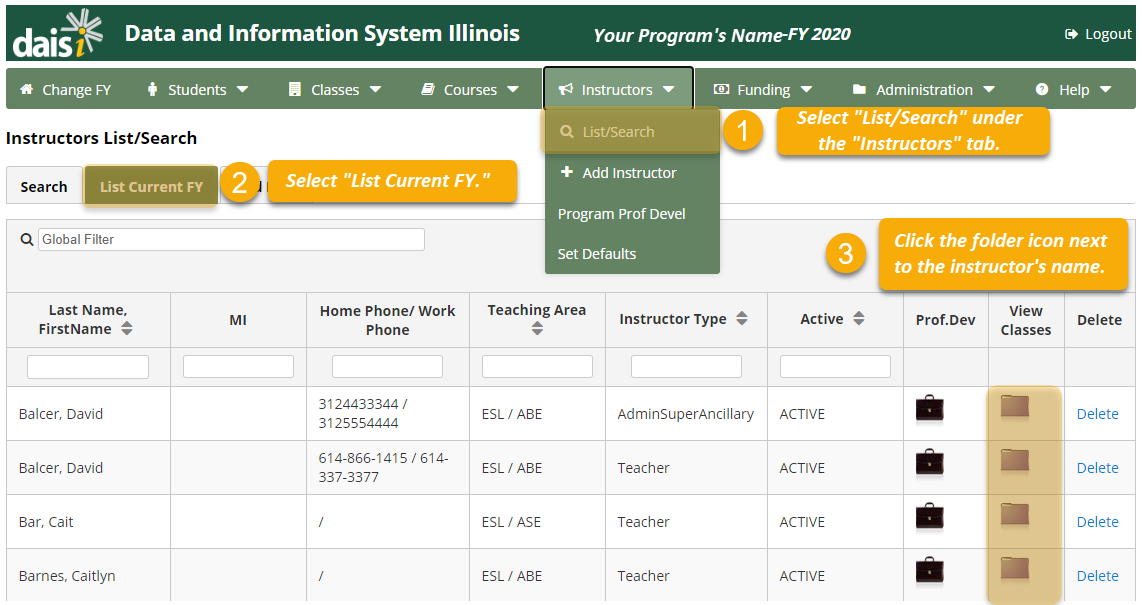
You can also access an instructor’s professional development history by clicking the briefcase icon in the “Professional Development” column on the Instructors: List/Search page.
The table will show the instructor’s professional development attendance during the given fiscal year. The rows of the table show the sixteen professional development categories from the drop-down menu on the Professional Development page. The third column of the table shows how many hours of professional development the instructor has attended in that category. Click on the number to see details about the professional development experience(s) that contributed to the hours listed in column three.
Beneath the table, you can find the total hours of professional development the instructor has attended during the fiscal year, and whether or not they’ve met the 12 hour annual requirement (if applicable).
In the Notes section at the very bottom of the page, you can find additional reminders about professional development policy.
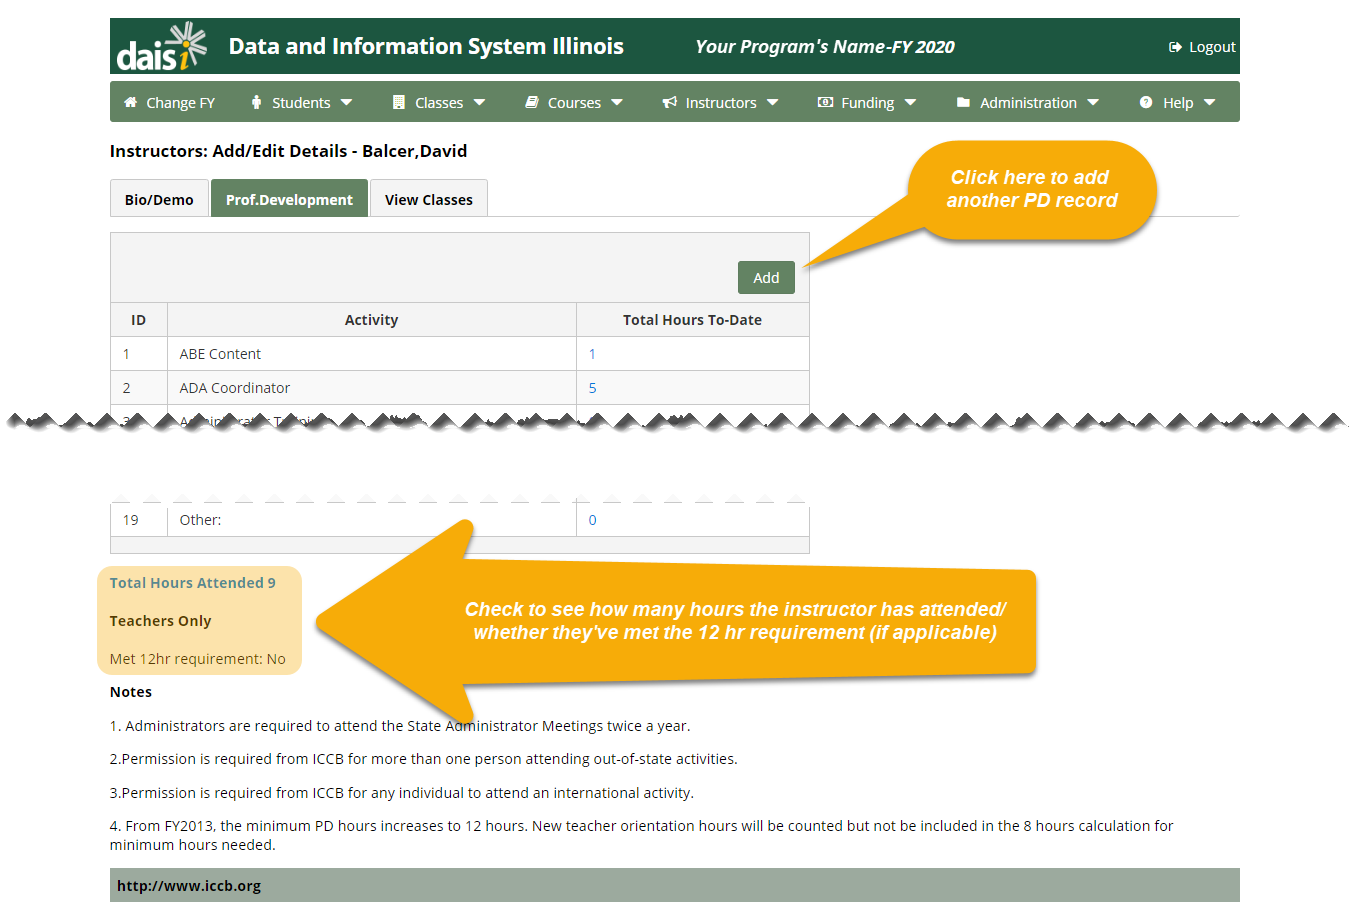
Note: You can add an additional professional development record using the Add button above the table on the right.
View Classes
You can view the classes that an instructor is assigned to from either one of two places:
- Go to the Instructors tab and select the List/Search Then, select List Current FY and click on the folder next to the appropriate instructor’s name.
2. Select List/Search under the Instructors tab, enter the instructor’s name, and hit Then, click on the instructor’s name, and select View Classes.
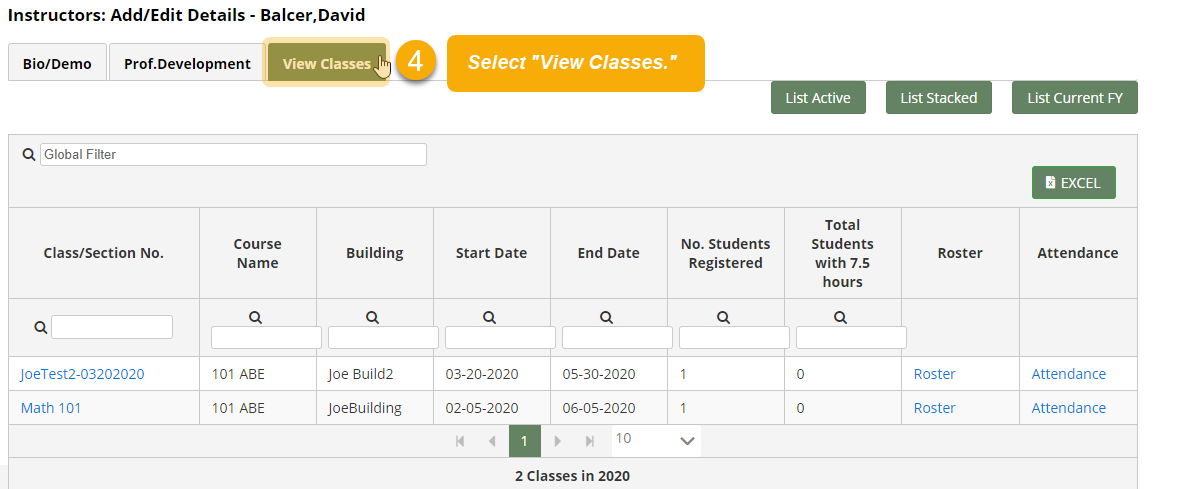
By default, only active classes the instructor is assigned to in the current fiscal year will be listed. However, there are other options available using the links at the top of the table:
- List Active: This is the default option, and only lists classes which are currently active.
- List Stacked: This option lists only classes which are in a class stack group.
- List Current FY: This option lists all classes in the currently specified fiscal year.
Set Defaults
Default values can be set for any of the instructor entry fields by selecting Set Defaults from the Instructors tab.
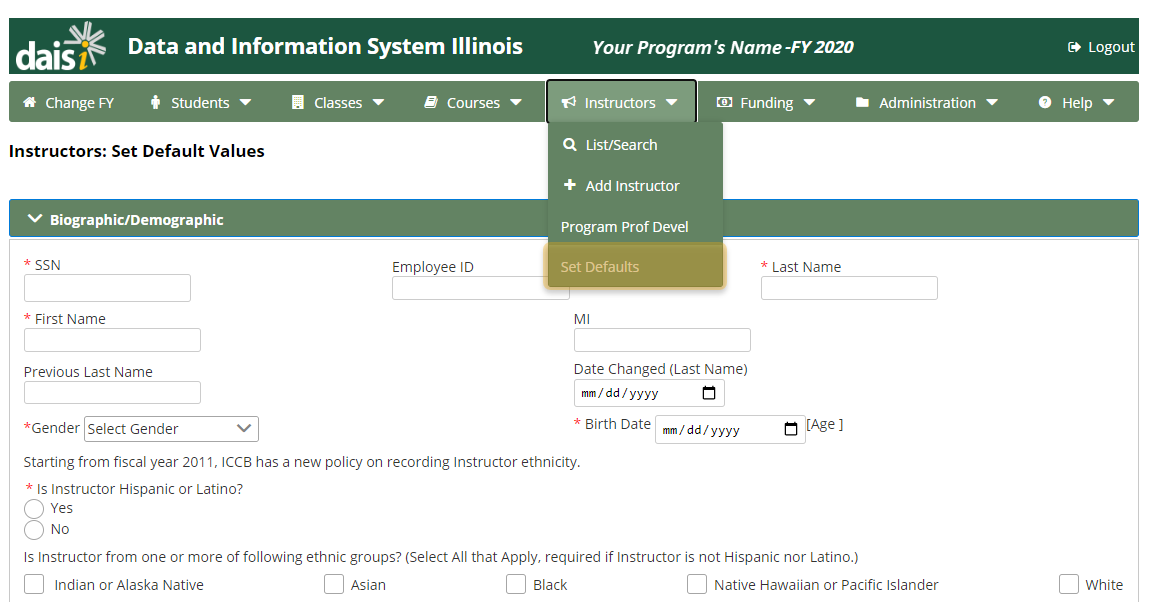
Default values are data values that will display in the fields each time a new instructor is added. They are designed to aid in data entry so that values used most often are completed without having to enter them each time. For example, if most of your instructors live in Illinois, you can set the default state to “Illinois” under the Contact Information section.
Once the default values are entered, click Submit to save them. The default values will display when a new instructor is entered. To change values during data entry, just highlight and delete the default values and enter the appropriate information
Was this page helpful? Let us know.