Table of Contents
General Information
The Administration tab includes menu items that are program-level settings. A variety of features and functions are available in this area. To access Administration features, click items under the Administration tab on the main navigation bar.
For an overview of the Administration tab, watch this recorded training.
Program Details
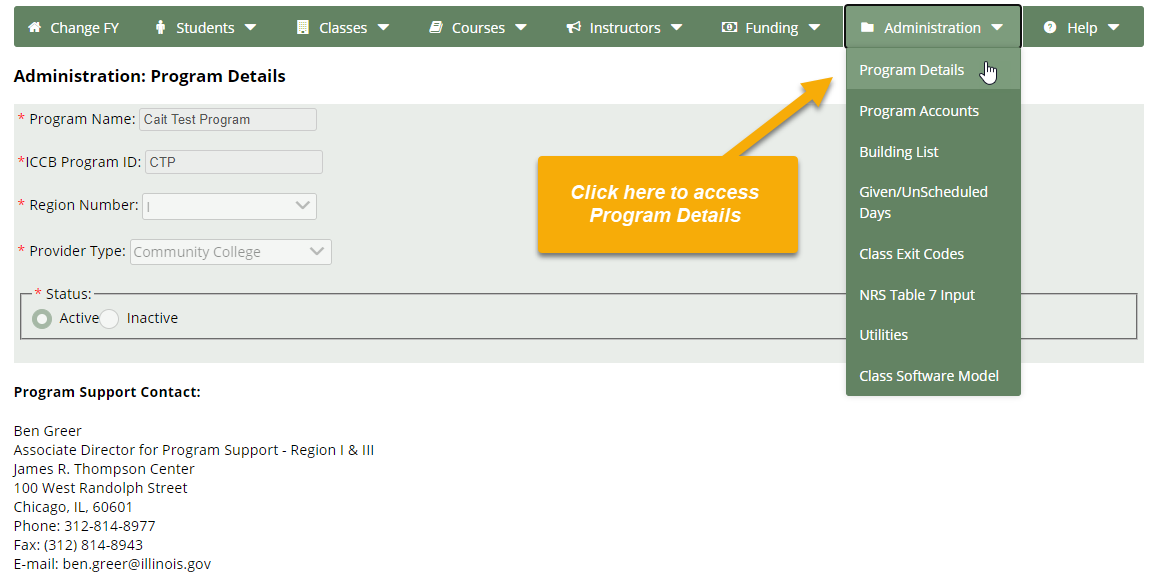
The program details can be viewed by selecting the menu option Program Details under the Administration tab. This area presents general information about your program. This information is view-only for users of the system. If errors exist, please contact the ICCB for correction.
Program Accounts
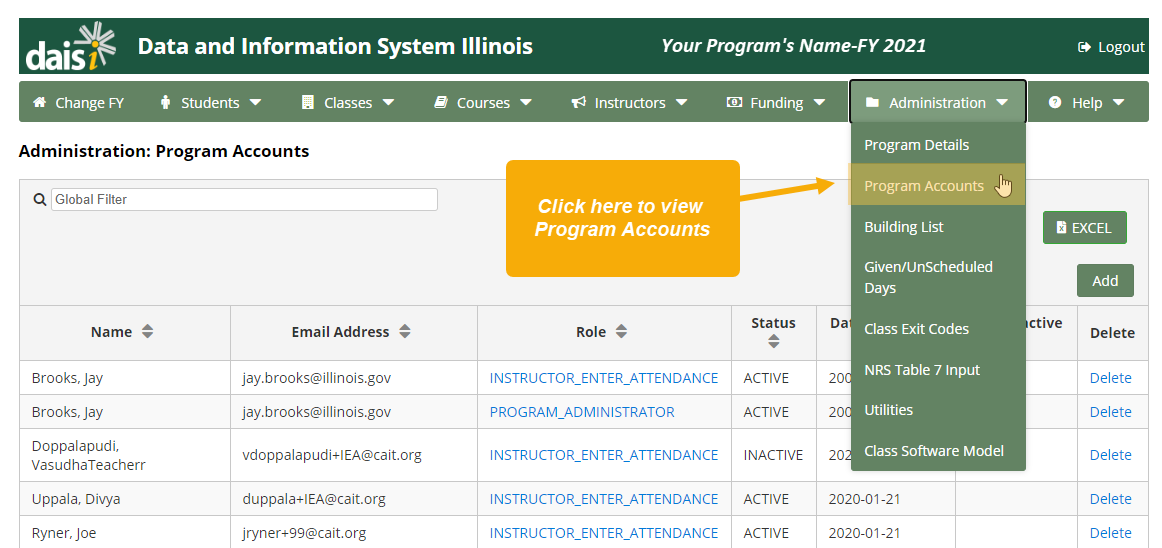
The program accounts can be viewed by selecting the Program Accounts menu option under the Administration tab.
Account List
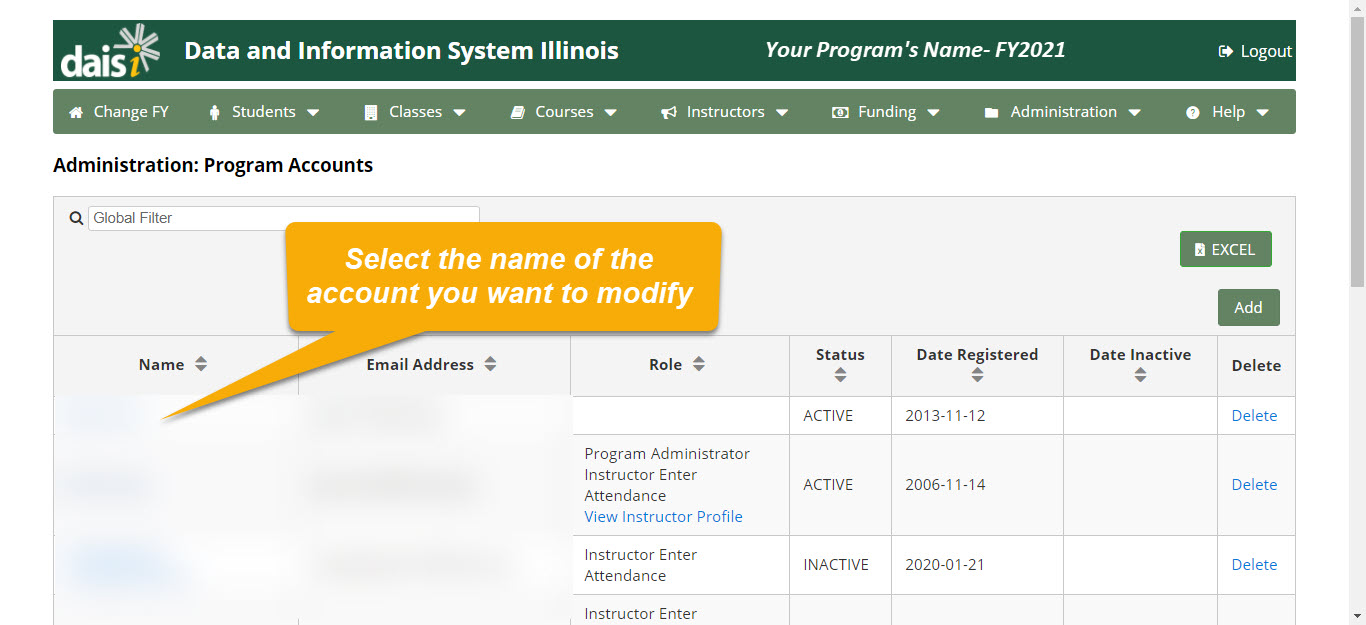
Each of the program accounts is listed for viewing under Program Accounts and can be displayed for editing by clicking on the link provided on the name that is listed.
Instructor accounts can also be selected for editing, however, the edits are done through the Instructor screens. Instructor accounts are added in the instructor area, whereas all other program access is defined here.
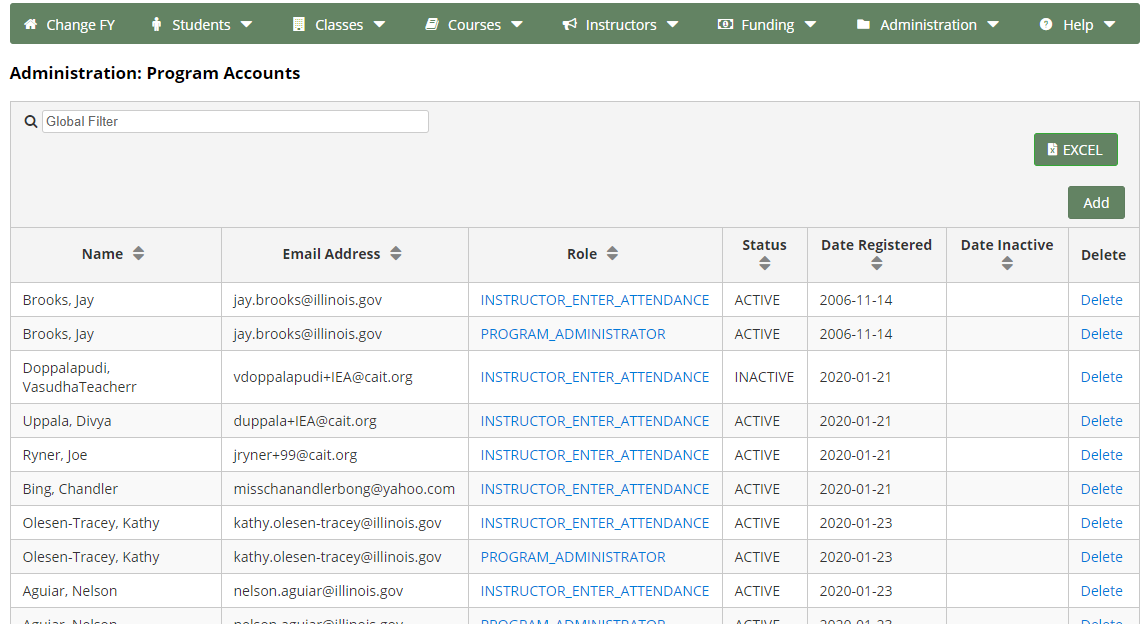
Accounts can be deleted by Program Administrators by clicking on the delete link. It is important to note that once someone is deleted from the system, the deletion cannot be reversed.
Add Account
Only users assigned as Program Administrators have the ability to establish and modify program accounts. Program accounts can be added by clicking the Add button to the top right of the program account list.

Once you hit the Add button, a pop-up window will appear where you can enter the details of the account.
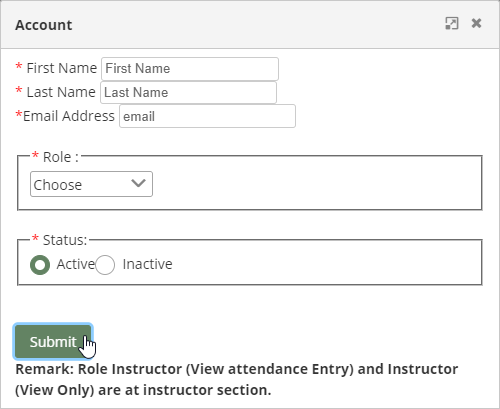
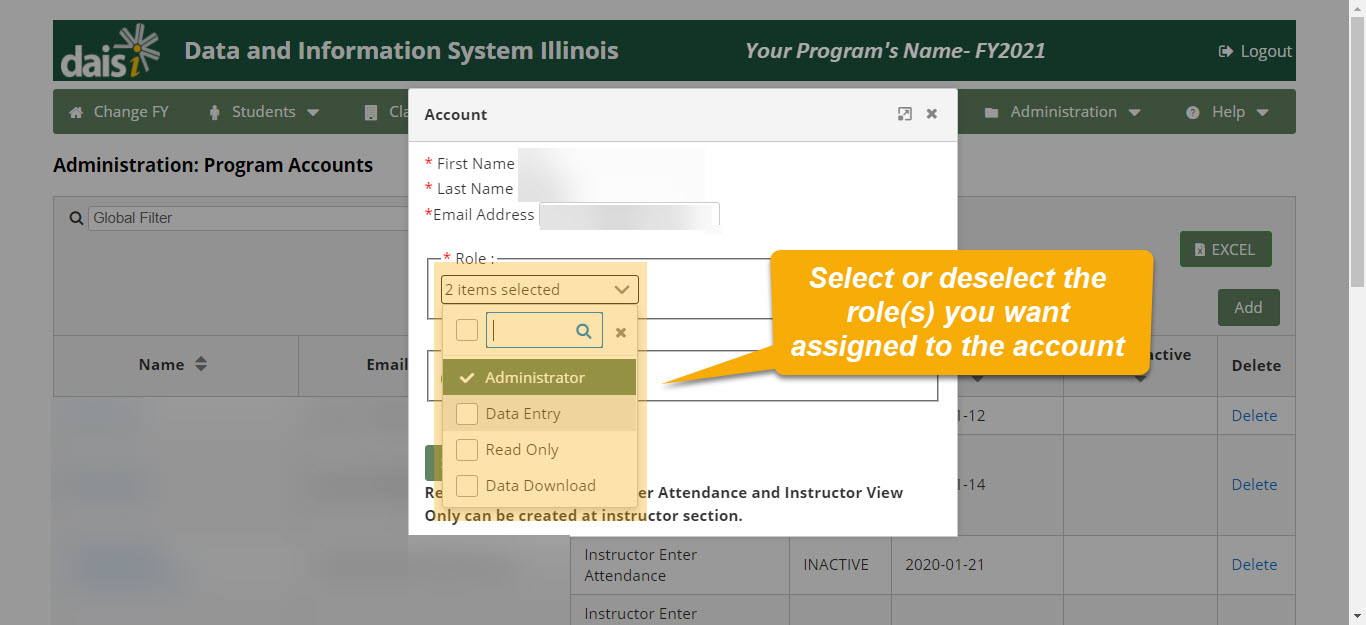
Enter the first and last name of the user as well as a valid email address.
Then, select from the following role options:
- Administrator: allows access to all the functionality of the system.
- Data Entry: allows access to all data entry and reporting areas except the program accounts area.
- Read Only: allows view-only access to all areas of the system.
- Instructor (view only): allows view-only access to class information and related class reports for the instructor.
- Instructor (enter attendance): allows view access to class information and related class reports as well as the ability to enter student attendance for the classes assigned to the instructor.
Note: Instructor accounts display on this screen, but are not set up or removed from this display. Instructor accounts must be set up or removed in the Add New or Edit Details page of the specified instructor.
Finally, select whether the account will be “Active” or “Inactive,” and click Submit. Once you click Submit, the user’s account information will be sent via email. The email will be a system-generated message and is sent from daisisupport@cait.org. Users should watch for this address in their Bulk or Junk mail folders.
Note: New accounts are assigned a temporary password and are forced to change the password upon initial sign-in to the system.
Modify Account
Select the account you want to modify on the Program Accounts page under the Administration tab.
Then, select the checkbox next to the role(s) you want assigned to the account.
If you’d like to prevent the user from accessing their account, change the “Active” radio button to “Inactive.”
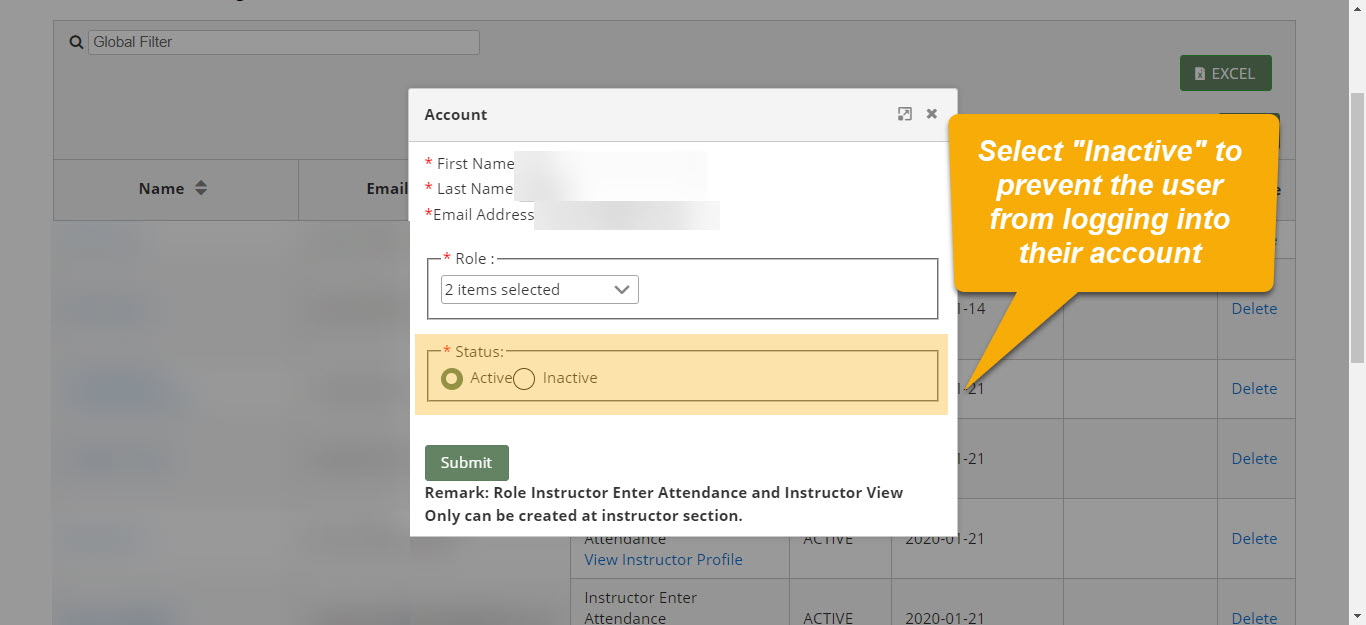
Press “Submit” to save your changes.
Building List
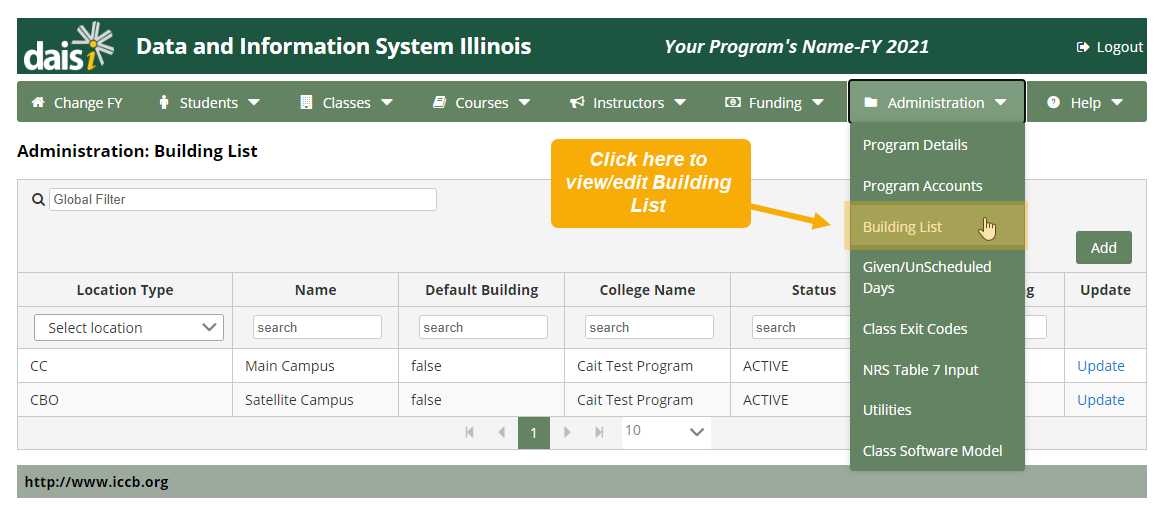
The building list can be viewed by selecting the menu option Building List under the Administration tab.
Every class must be assigned to a building. Buildings must first be established in the building list before being available for selection when setting up classes.
A list of all buildings that are entered into the system is displayed.
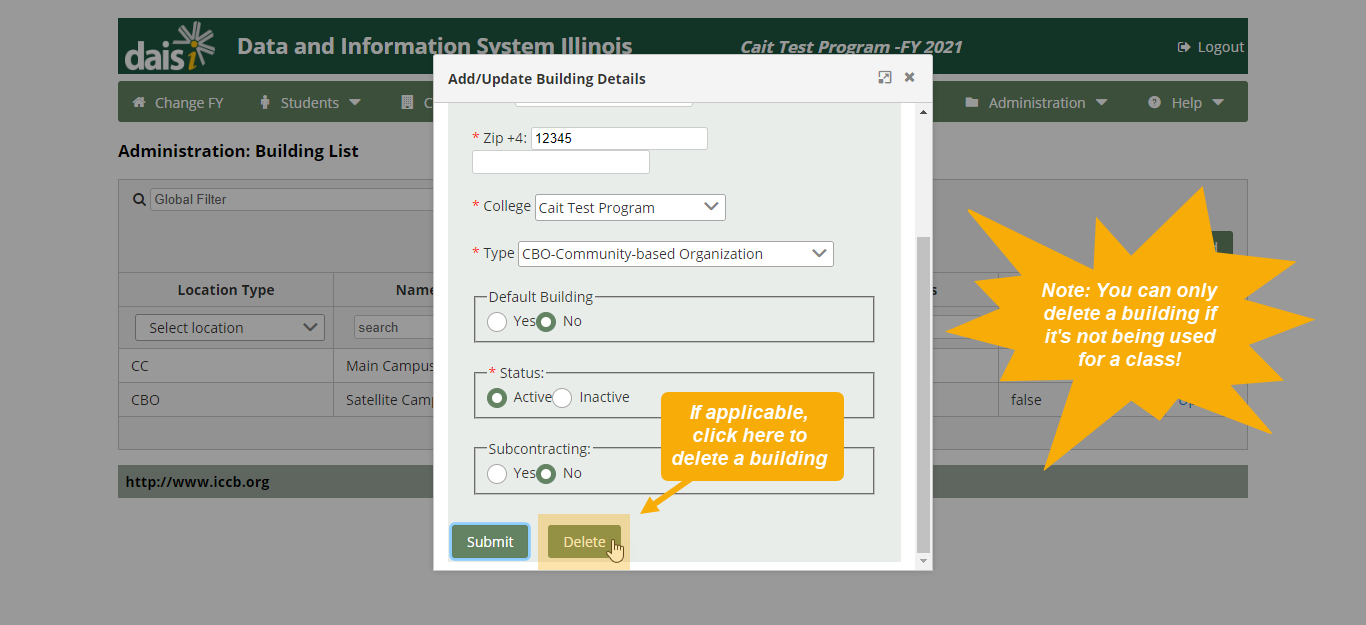
You may only delete a building if the building has not been used for a class within the system. To delete a building, select Update to open the Add/Update Building Details pop-up window, then scroll to the bottom and click Delete.
Edit Building
Click the Update link to the right of the building name to edit information about the building. A pop-up window titled Add/Update Building Details will appear.
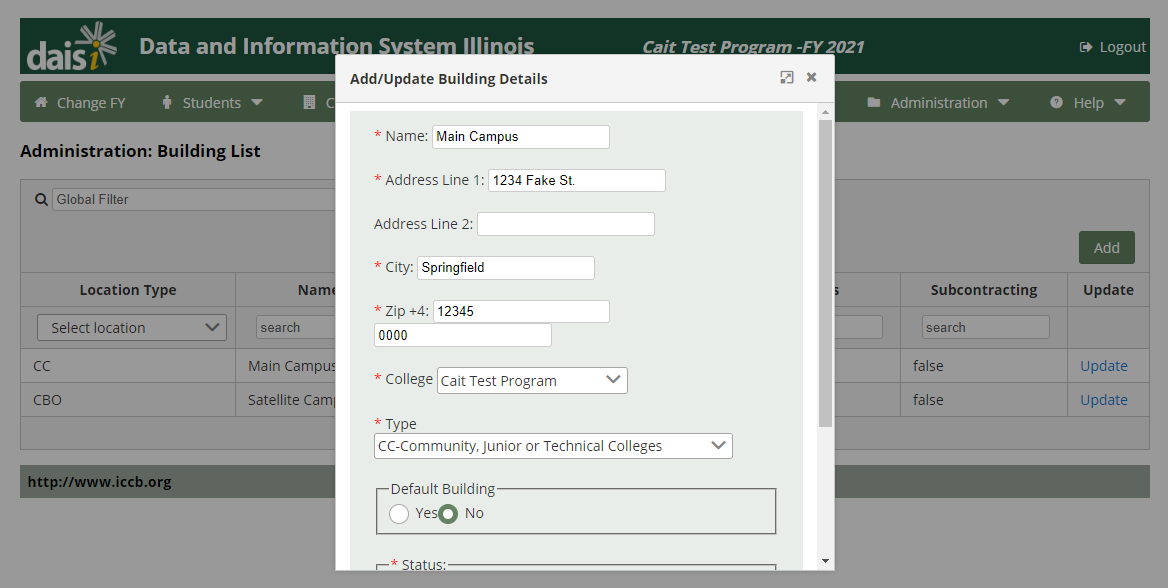
One building may be selected as the Default Building. In this case, when adding a new class, the default building will automatically be entered. Users have the ability to override the default building when entering a new class manually.
If the building is a subcontracting agency, select yes in the subcontract field. Subcontracting agencies are entities receiving funds from a grantee as part of a consortium.
If the building is no longer active, select the Inactive radio button and enter the effective date of inactivity in the space provided. Once a building is marked as Inactive, it is no longer an option to assign to a class.
Click on the Submit button to save the changes.
Add Building
Click the Add button to the top right of the building list to add a new building.

Enter the appropriate information in the fields provided and click the Submit button to save the information once it’s been entered.
Given/Unscheduled Days
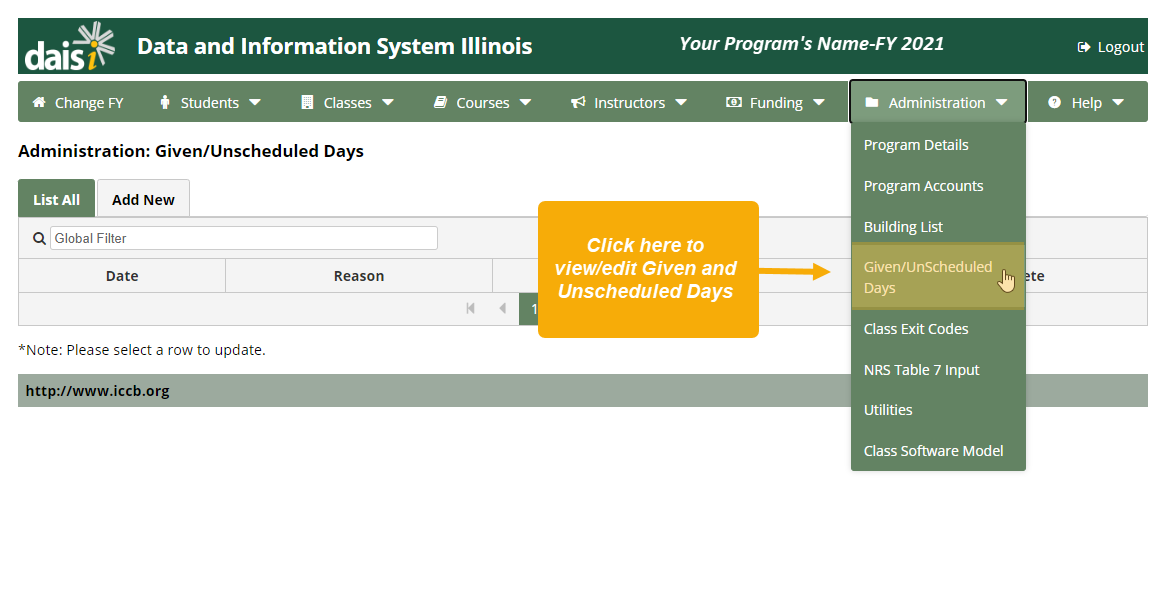
The Given and Unscheduled Days default area can be viewed by selecting the Given/Unscheduled Days menu option under the Administration tab. This area provides the ability to set up given and/or unscheduled days in advance for the program.
Users also have the ability to enter given and unscheduled days during the attendance entry process, with the exception of Given Days that are designated as Holidays.
Holidays are limited and program-wide; as a result they must be established here.
Given days are:
- 13 holidays per year
- staff development days
- emergency closings
Holidays allow each program to determine its own closure days based on the holidays it observes. A maximum of 13 holidays are allowed for use by a program each fiscal year. Holidays are program-specific and are not allowed to be used with single buildings only.
In addition to given days, unscheduled days are also recorded here. Unscheduled days are dates included in the normal class schedule, but on which class will not meet (ex. campus closure, spring break, etc.).
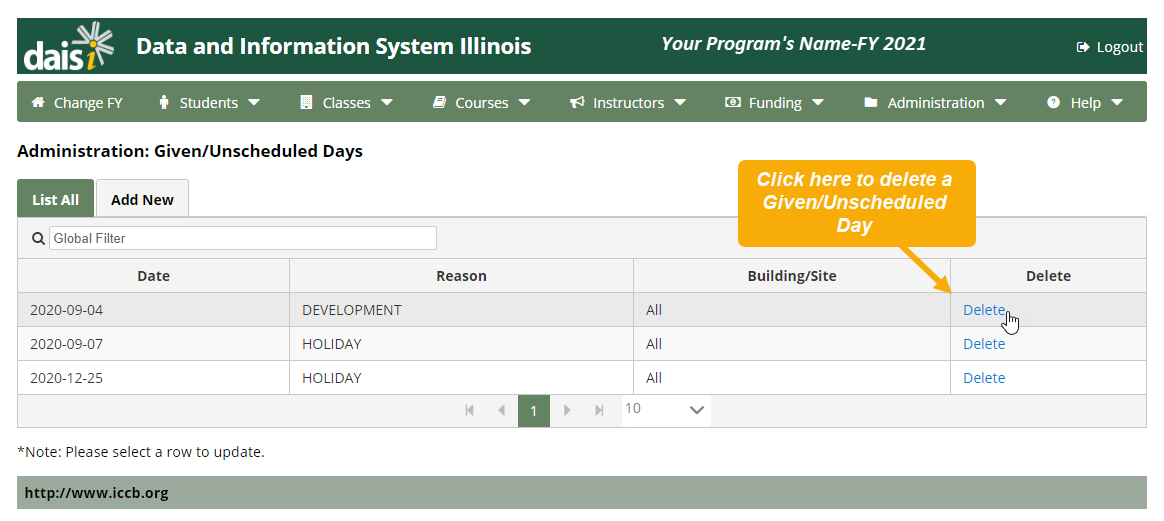
The first screen displayed lists the days that have been assigned. Click on the check box next to a date and click on the Delete button to delete a date.
Add Given/Unscheduled Day
To add a new given or unscheduled day, click the Add New tab in the sub-menu.
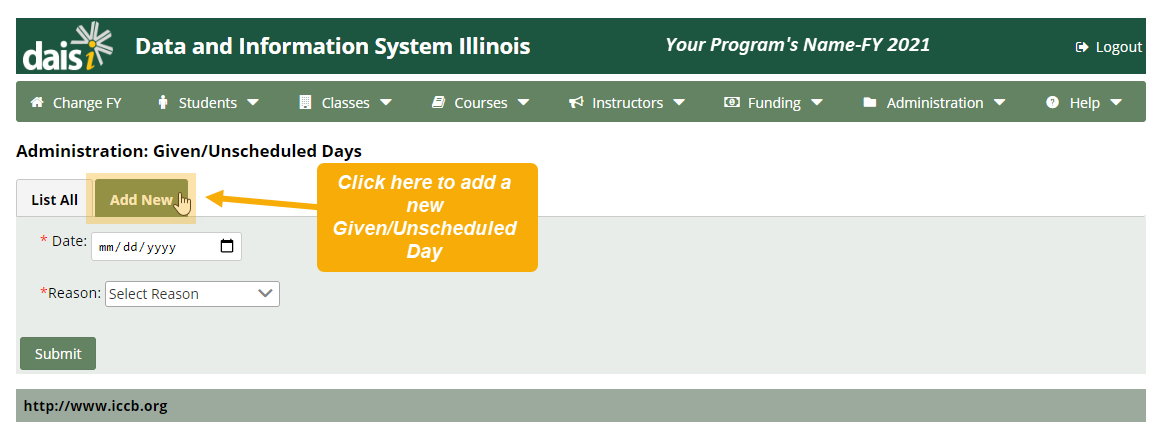
Enter the correct date and select a reason from the drop-down list. Holidays apply to all buildings, but each of the other choices can be building specific. If the option is displayed to select a building, select ‘All Building’ to choose all of the buildings or select the individual buildings by checking the box that corresponds to the building location.
Click Submit to save changes.
Class Exit Codes
The class exit codes list can be viewed by selecting the menu option Class Exit Codes under the Administration tab.
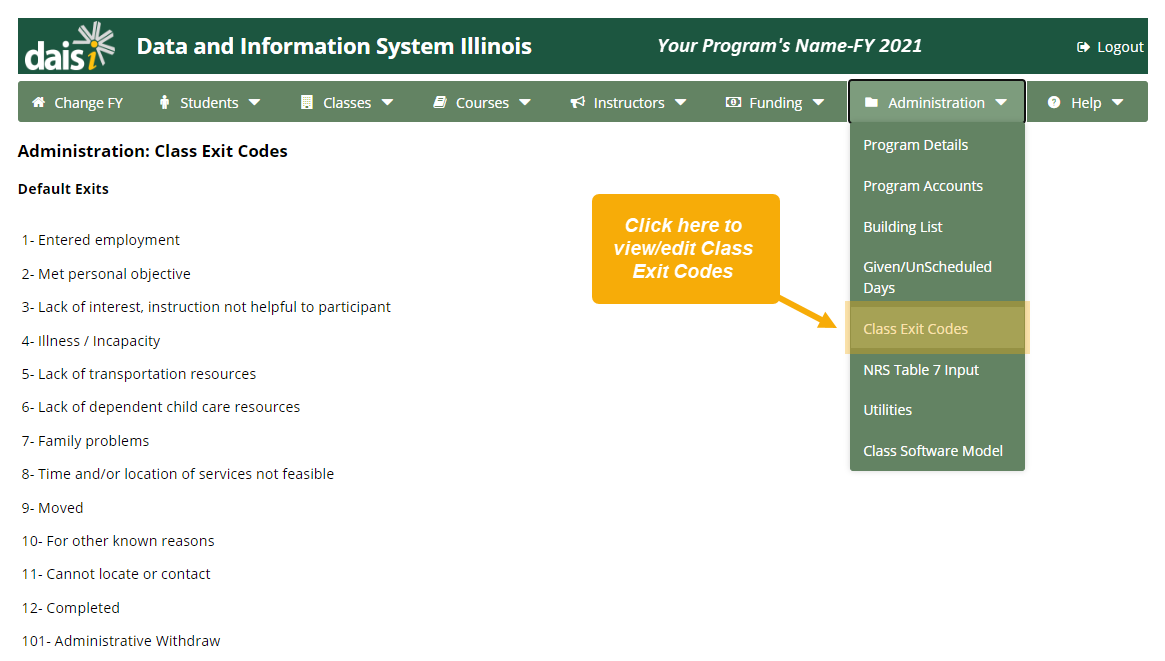
Class exit codes are assigned when students leave an individual class. Reasons 1-12 and 101 are pre-defined class exit codes and cannot be modified by users. However, custom class exit codes specific to each program can be defined by users.
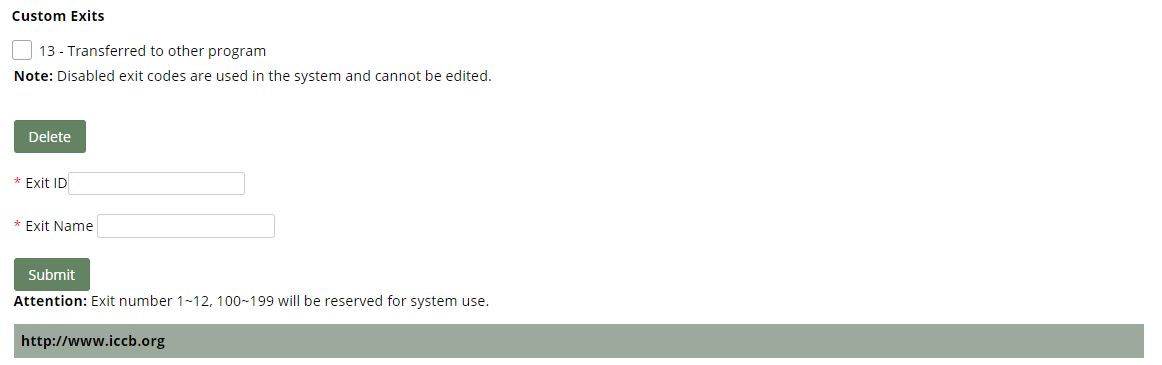
To add a custom class exit code, enter a code number in the area provided and a reason in the text input area. Next, click Submit to add the custom class exit to the system. The new reasons will be available when exiting a student from a class.
As custom exit reasons are entered, they are displayed below the Default Exits list under a heading titled Custom Exits. Clicking on the box next to the reason and then clicking on Delete will remove the reason from the list.
Note: A custom class exit can only be deleted if it has not been used for a student. If it has been used, the checkbox will be grayed out and delete will not be allowed.
NRS Table 7
The NRS Table 7 Input screen is used to feed data into the NRS Performance Report – Table 7. It is critical that programs complete this data to ensure the NRS Performance Report is complete and accurate.
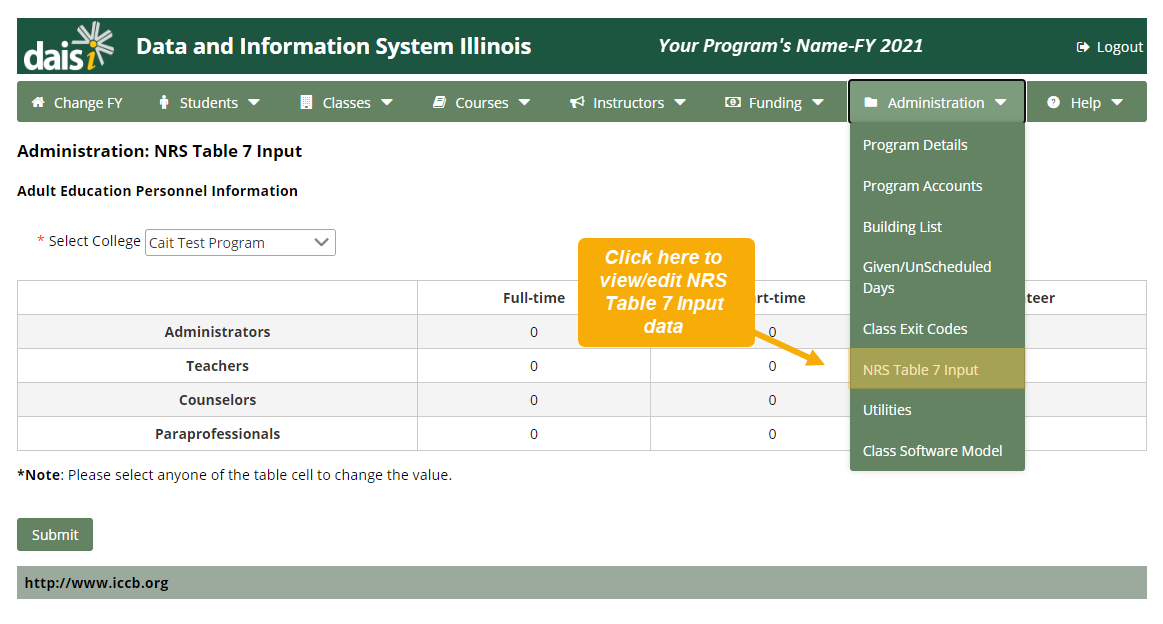
To enter data into the table, click on a cell to edit the number. When finished, click the Submit button to save changes.
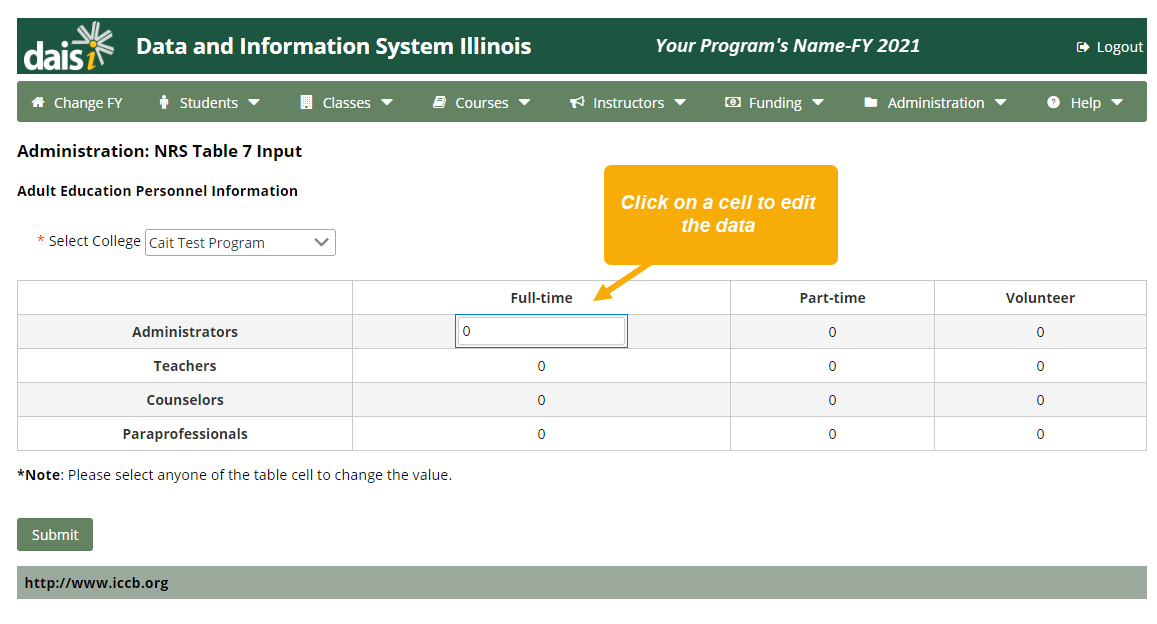
Now when the NRS Performance Report is generated, the numbers that were stored when you clicked Submit will be displayed in Table 7 of the report.
Note: Please keep in mind this table reflects all positions, regardless of funding source used to pay salary/benefits, etc. Also, this table should be updated if new hires occur to reflect the total number of adult education personnel in the program during the fiscal year.
Utilities
The Utilities provided under the Administration tab are used to control system-wide settings. To access the utilities area, select the menu option Utilities under the Administration tab.
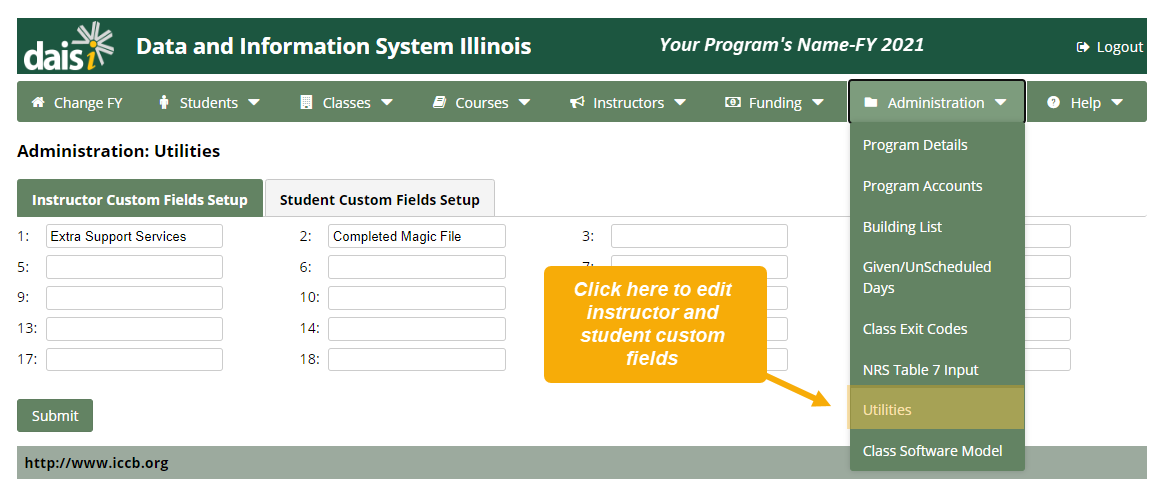
Up to twenty (20) custom fields can be defined to store instructor or student data unique to your program. The text that is typed into the fields is what will display as the field name on the Instructor/Student screen for data entry. Switch between Instructor and Student Custom Field Setups using the tabs in the sub-menu. Click the Submit button to save the changes.
Was this page helpful? Let us know.